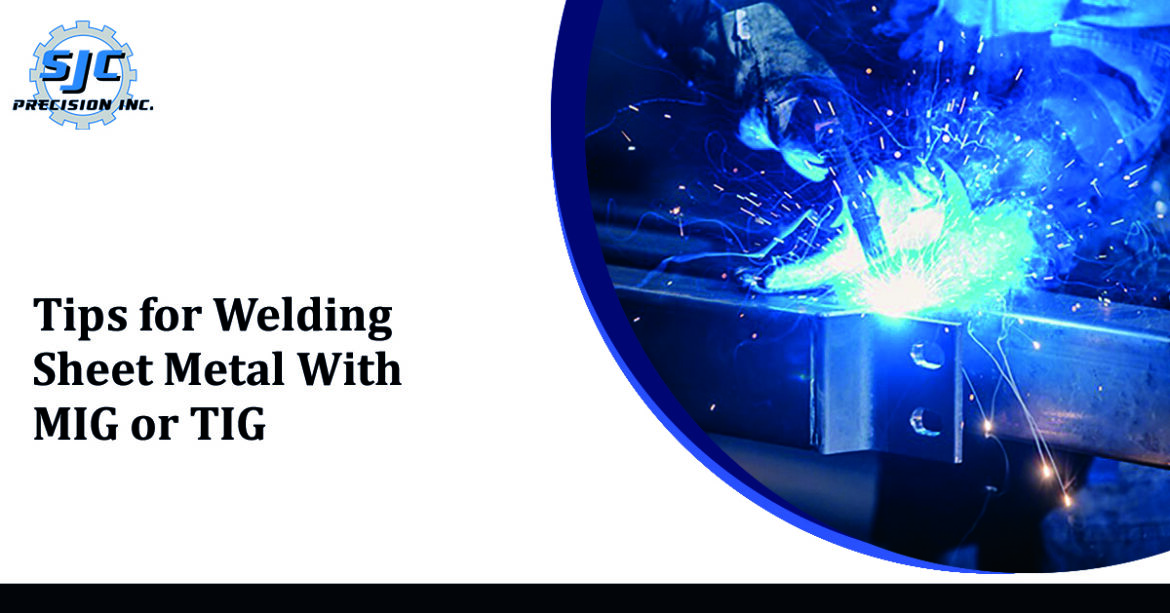
How is sheet metal welded? Many new welders worry about this issue as they begin working with materials of various thicknesses.
A different strategy is required because sheet metal is much thinner than other materials that need to be welded.
Beginner welders need to be aware of various materials required for various techniques. Thinner materials can occasionally be challenging to weld, even for experienced welders. This is the result of numerous circumstances that were present.
We’ll illustrate the essential principles of sheet metal welding or sheet metal manufacturing in this blog so that even professionals may understand and apply them.
Section 1: Preparing Your Workspace
It’s crucial to set up your workspace before starting any welding projects or sheet metal manufacturing. This not only assures your safety but also improves the productivity of your work. The steps you must take to set up your workspace for MIG or TIG sheet metal welding are as follows:
- Clean the Area: Remove any extraneous objects or debris from the area surrounding your welding station. This will make it safer for you to move around your desk and less likely that you’ll trip over anything.
- Sufficient Ventilation: To prevent breathing in dangerous gases or fumes, make sure your workspace is well-vented. Use a fan or open windows and doors to produce a draught that will move the gases away from your work area.
- Personal Protective Equipment: Always wear the appropriate protective equipment (PPE) during sheet metal manufacturing. This includes welding boots, a long-sleeved shirt, gloves, and a welding helmet.
- Appropriate Lighting: To assist you in seeing what you are working on clearly, make sure your desk is well-lit. Use a work or a bright overhead light to brighten up your workspace.
- Clamping the Sheet Metal: Clamp it firmly to your work surface or welding bench to keep the sheet metal from swaying or shaking when welding. A clean, stable weld will be more likely as a result. (sheet metal manufacturing)
Section 2: Choosing the Right Filler Material during Sheet Metal Manufacturing
When using MIG or TIG to weld sheet metal, picking the appropriate filler material is essential. The filler substance ensures a solid, long-lasting weld and aids in joining the two pieces of metal together. The procedures to follow to select the ideal filler material are as follows:
- Choose the Right Filler Material: The right filler material to use depends on the type of sheet metal you are welding. For instance, a stainless steel filler should be used when welding the steel sheet metal.
- Establish the Sheet Metal Thickness: The sort of filler material you should use will depend on the thickness of the sheet metal. Thinner sheet metal requires a thinner filler material, and thicker sheet metal requires a thicker filler material.
- Choose a Welding Method: The sort of filler material you should use will depend on your chosen welding technique. Whereas TIG welding needs a separate filler rod, MIG welding commonly employs a wire spool as the filler material.
- Choose the Appropriate Filler Material: After determining the type of sheet metal, thickness, and welding technique, select the appropriate filler material. To select the proper filler material, speak with your welding supplier or consult a welding reference manual.
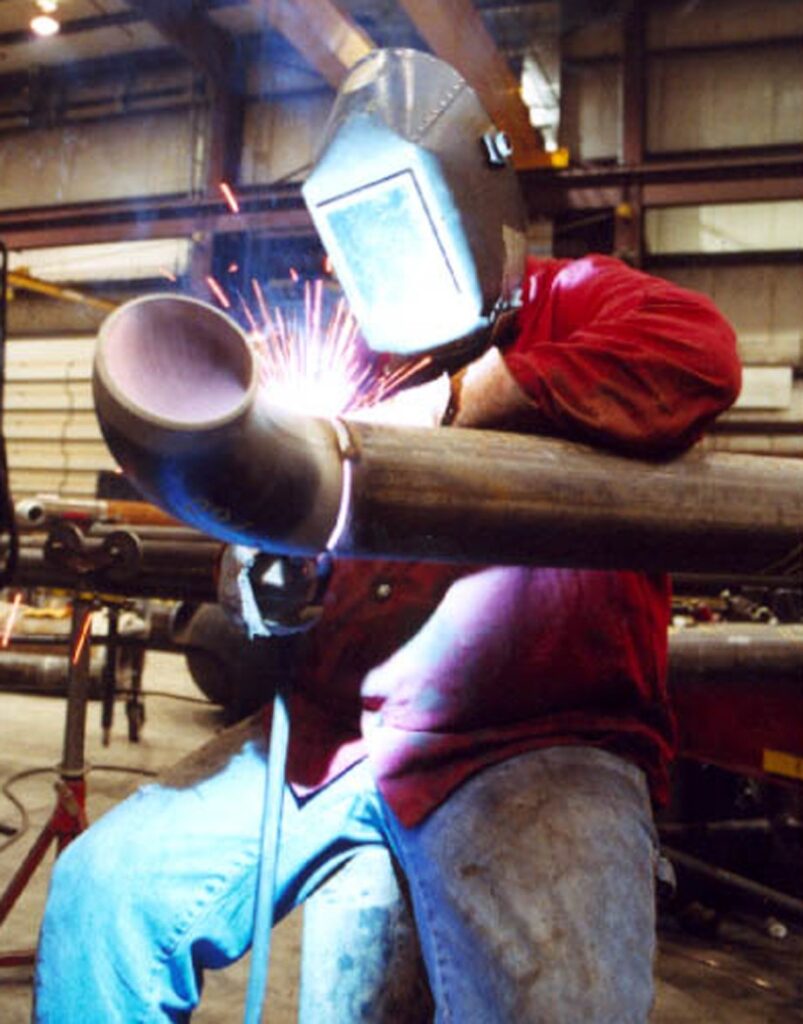
Section 3: Setting the Correct Amperage and Voltage
When using MIG or TIG to weld sheet metal, it’s crucial to correctly set the voltage and amperage. A poor-quality weld that includes burn-through, warping, or distortion of the sheet metal can be produced by setting the amperage or voltage at the incorrect level. The procedures to follow to set the appropriate voltage and amperage are as follows:
- The Welding Reference Handbook should be consulted: For guidance on the proper amperage and voltage settings for the particular sheet metal and welding technique you’re employing in sheet metal manufacturing, consult the welding reference handbook or the manufacturer.
- Test the Settings on a Scrap Piece of Sheet Metal: Before welding on the real sheet metal, test the settings on a scrap piece that resembles the metal you’ll be welding. This will enable you to choose the appropriate voltage and amperage for your unique welding project.
- Amperage and Voltage Adjustments: Adjust the amperage and voltage until you achieve a steady, smooth arc and produce a strong weld. Be careful not to raise the amperage and voltage to the point where they burn through the sheet metal.
- Monitor the Welding Process: Keep an eye on the sheet metal as you weld, and adjust the amperage and voltage as necessary to ensure a consistent weld. Reduce the amperage and voltage if the sheet metal begins to stretch or deform.(sheet metal manufacturing)
Section 4: Welding Techniques
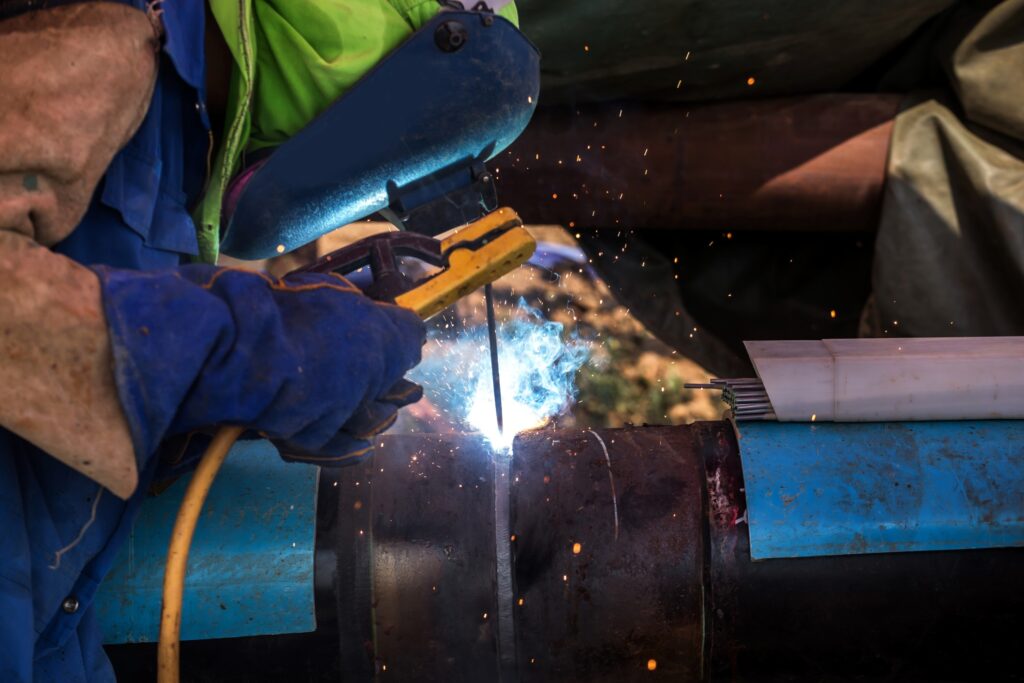
Particular welding techniques must be used to guarantee a high-quality weld while using MIG or TIG to weld sheet metal. The steps you must take to use good welding procedures are as follows:
- Tack Welding: Tack welding is joining small pieces of sheet metal to hold them in place while the larger weld is being completed. Tack welding ensures that the weld is straight and even while preventing warping or deformation of the sheet metal.
- Manage the Heat: It’s crucial to keep the heat under control when welding sheet metal to prevent warping or burning through the material. To check that the heat is distributed evenly and avoid burn-through, move the torch or gun in a circular motion.
- Short Burst Welding: To avoid overheating the sheet metal manufacturing, weld in brief intervals or bursts. Also, this will aid with temperature control and stop warping or distortion.
- Cleaning the Welding Surface: To prevent debris, oil, or rust from affecting the weld’s quality, clean the welding surface before and after welding. Use a grinder or a wire brush to get rid of any dirt or rust.
- Grind the Weld: After the weld is finished, grind the weld’s surface to produce an even, smooth finish. This will lessen the weld’s chance of weak spots or stress points.
Section 5: Finishing Your Weld
Finishing the weld is a crucial step when using MIG or TIG to weld sheet metal manufacturing. Proper finishing may strengthen the weld, stop rust or corrosion, and produce a polished finish. The actions you must take to complete your weld are listed below:
- Remove the Weld Splatter: After the weld has cooled down, use a wire brush or a grinder to remove any weld splatter or extra material. This will contribute to a polished and seamless finish.
- Sand the Weld: Use fine-grit sandpaper to smooth down any jagged edges or other flaws in the weld. This will assist in preventing any stress areas in the weld and contribute to a smooth and even finish.
- Apply primer: To stop rust or corrosion, apply primer to the welded region and spread it uniformly. Allow plenty of time for the primer to dry before painting.
- Paint the Weld: Use a high-quality paint suitable for the particular sheet metal and climate to paint the welded region. Before handling, evenly apply the paint and let it fully dry. (sheet metal manufacturing)
Conclusion
What process do you employ to weld sheet metal, then? You’re good to go if you’ve used the ones above correctly. Nonetheless, you should consider adjusting your behavior if you have identified significant errors.
The right approach can make sheet metal manufacturing simple. A welder won’t have any issues adjusting the welding machine if the required techniques are used. Adjust your welding, and the outcomes will significantly improve over time and with experience.


